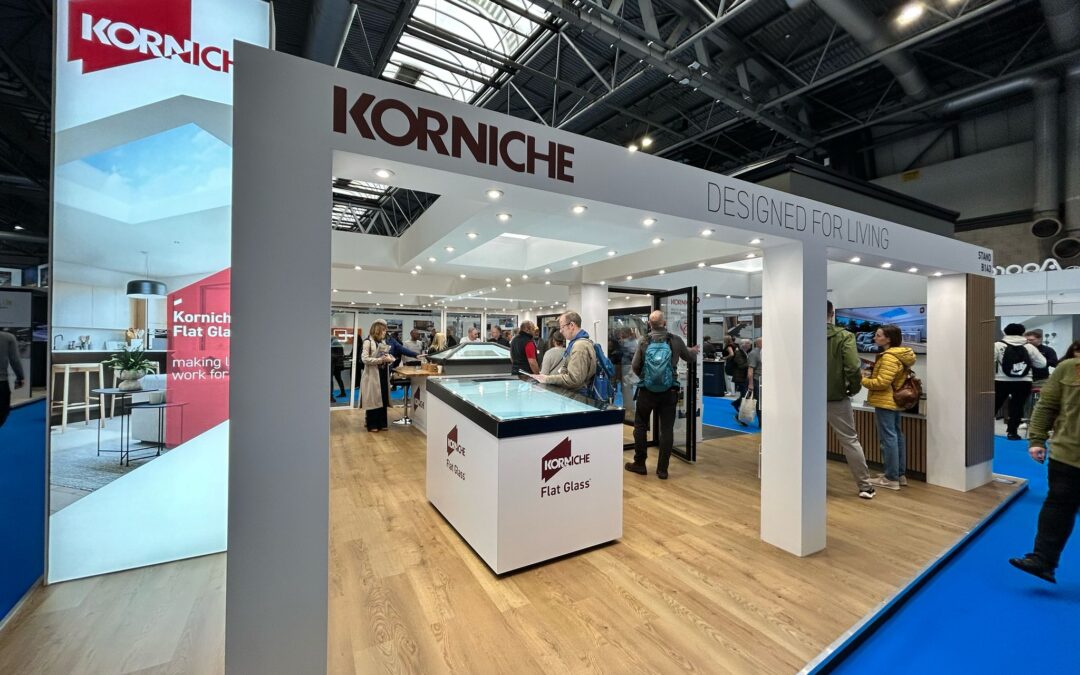
Master the installation of your Korniche Roof Lantern with expert guidance. Skill Builder Roger Bisby shares his experience installing a Korniche Roof Lantern.
This guide is designed to equip tradespeople with the knowledge and confidence to tackle their first Korniche Roof Lantern installation. We’ll walk you through the process alongside Skill Builder Roger Bisby, highlighting key features and offering practical tips gleaned from his experience.
First Impressions
“These days, everybody’s looking to get more light into their building, and a Roof Lantern is the ideal way of doing it,” says Roger. He’s impressed by the “maximum size of 6 metres by 4 metres” and the reported “twice as strong” construction compared to competitors, making Korniche a great choice for your projects.
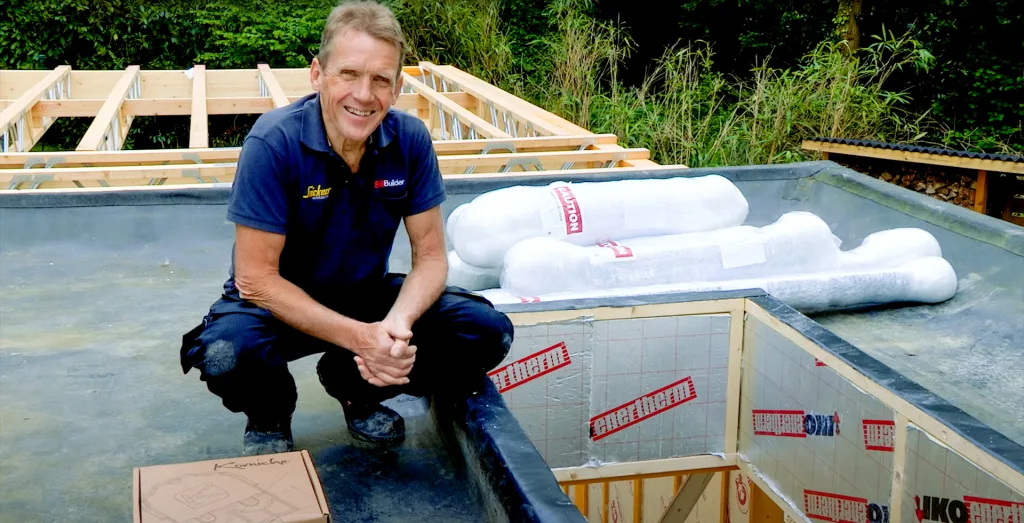
Getting ready to install the Korniche Roof Lantern.
What are Korniche Roof Lanterns?
Korniche Roof Lanterns are a brand of aluminium roof lanterns known for their slim profile, minimal structure, and award-winning design. They are engineered to be strong and thermally efficient, while maximising intake of natural light. They are made in the UK and are a popular choice for homeowners looking to add light and space to their properties.
Unpacking and Setting Up
Right from the start, you’ll appreciate the care taken in packaging. “It’s reassuring to see how well protected all the components are,” says Roger. This extends to the pre-assembled and pre-sealed nature of the components, saving you valuable time on-site and minimising the need for extensive silicone application.
Double check the manual: While the process is designed to be intuitive, take a good look at the instructions to familiarise yourself with the steps.
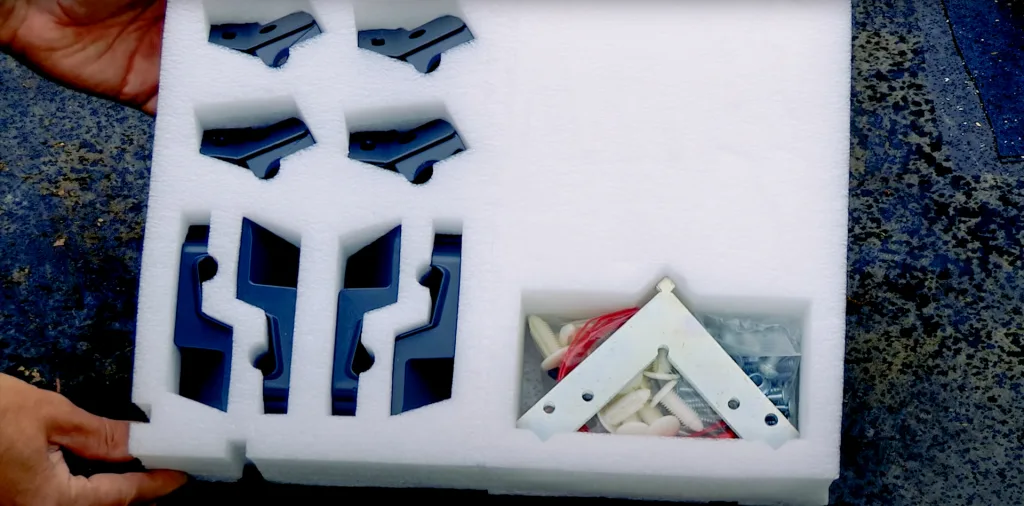
Essential equipment – Korniche Roof Lantern Parts well packaged.
The Eaves Beam
The eaves beam forms the base of your Korniche Roof Lantern installation, providing a sturdy foundation upon which the rest of the structure rests.
Cable ties are only temporary: The pre-installed cable ties ensure proper alignment during initial assembly. Remember to remove them once the screws are secured.
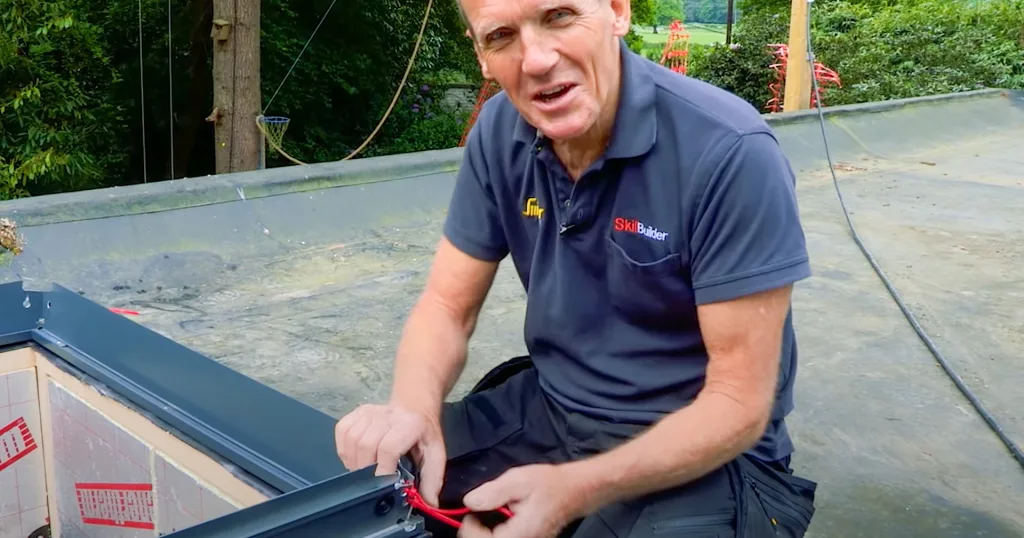
Bringing together the Korniche Roof Lantern Eaves Beam using red cable ties.
Apply Sealant
While the Korniche Roof Lantern is designed to minimize the need for extensive silicone application, there is one specific area that requires attention: the base where the lantern meets the upstand.
Why Sealant Here?
- Variations in Construction: As Roger highlights in the video, slight variations in on-site construction can occur, particularly regarding the way the upstairs ceiling is finished. “That’s because sight variations, you know, the way people build upstairs is always different,” explains Roger.
- Ensuring a Watertight Seal: Applying a bead of silicone here fills any potential gaps and ensures a watertight connection between the lantern and the existing roof structure.
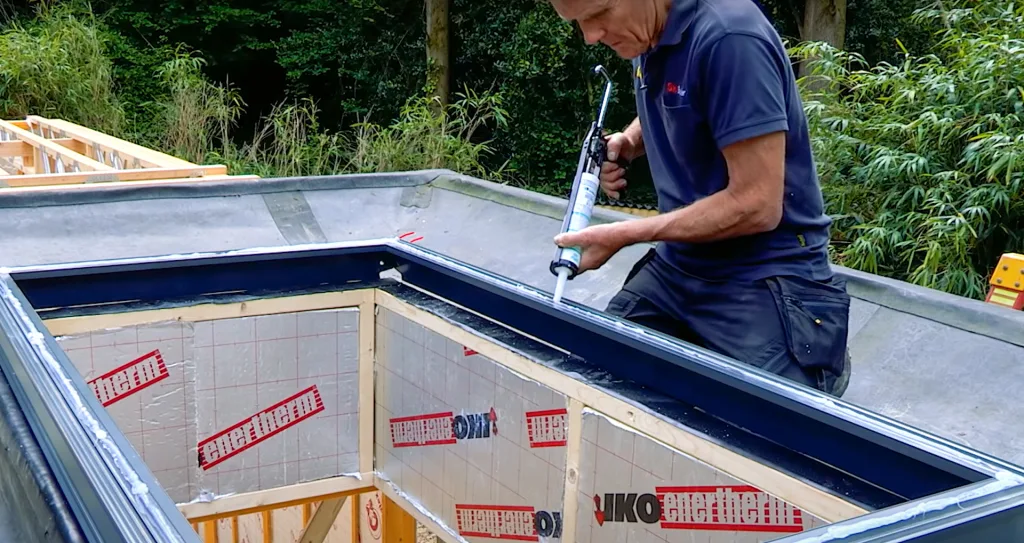
Roger Bisby applies sealant to the eaves beam of the Korniche Roof Lantern.
Spider Assembly
Roger is a big fan of the ingenious design features incorporated throughout the system. The spider assembly uses tapered washers to achieve a “tight and secure fit” without the need for self-tapping screws.
“That’s a clever bit of design,” he remarks, appreciating the pre-fitted seals that eliminate the need for additional silicone application on the fittings.
Roger’s Pro Tip: Check the provided torque recommendations to ensure proper tightening, especially when working with aluminium.
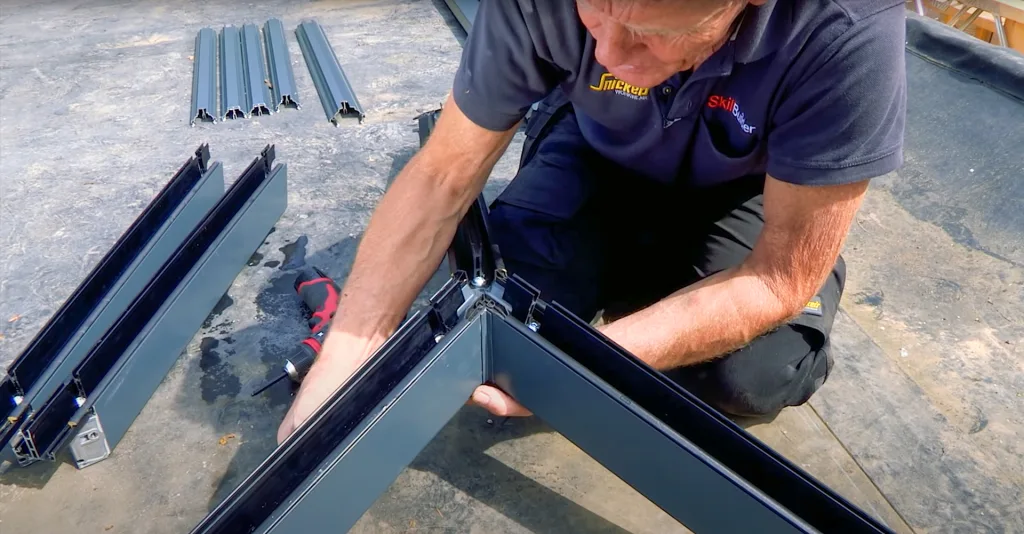
Roger assembling the Spider of the Korniche Roof Lantern
Attaching the Spider
The spider is a crucial component of the Korniche Roof Lantern, acting as the central hub that connects the various structural elements. Here’s how to attach it:
- Positioning: Carefully lift the spider and position it onto the eaves beams.
- Secure with Bolts: Insert the provided bolts into the aligned holes and hand-tighten them to secure the initial position.
- Final Tightening: “I always wonder about how much you should tighten things up, especially when you’re talking about aluminium,” says Roger in the video. Thankfully, the guesswork is eliminated here. Refer to the manufacturer’s instructions for the recommended torque value and use a torque wrench to ensure proper tightening. This ensures a secure and stable connection without over-tightening the bolts.
- Remove Cable Ties: As Roger points out, “these cable ties are zip ties work really well, because they do put it all into line, so there shouldn’t be any problem.”
Roger’s additional tip: Double-check that the spider sits square and level before tightening the bolts fully. This ensures proper alignment of the entire roof lantern structure.
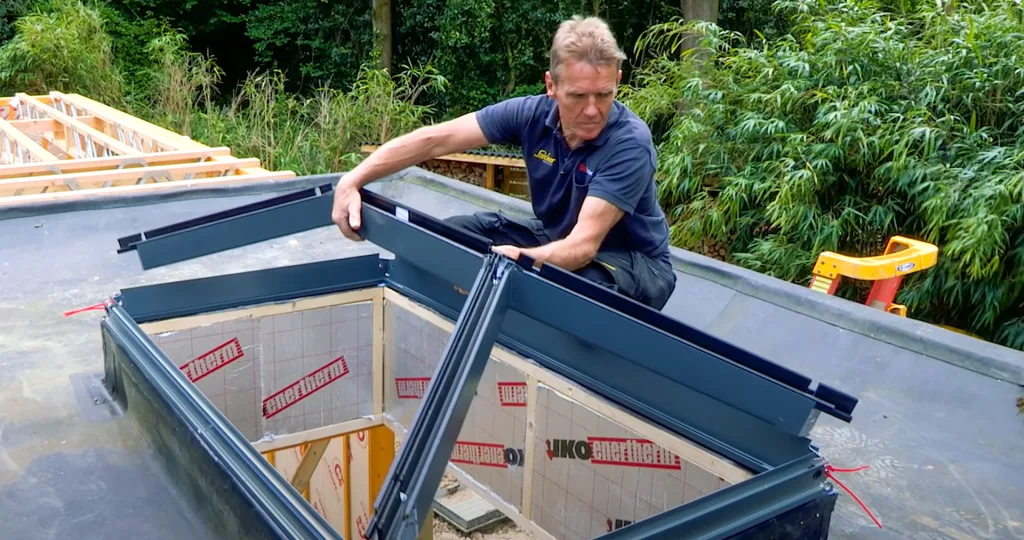
Roger Bisby (Skill Builder) lifting the Spider into place onto the Eaves Beam.
Fixing Down
The fixing down stage involves securing the eaves beam of the Korniche Roof Lantern to the upstand on your roof.
The pre-drilled holes in the eaves beams are another time-saving feature. “These are predrilled, it means you don’t have to measure and mark out,” says Roger, highlighting the user-friendly design aspects.
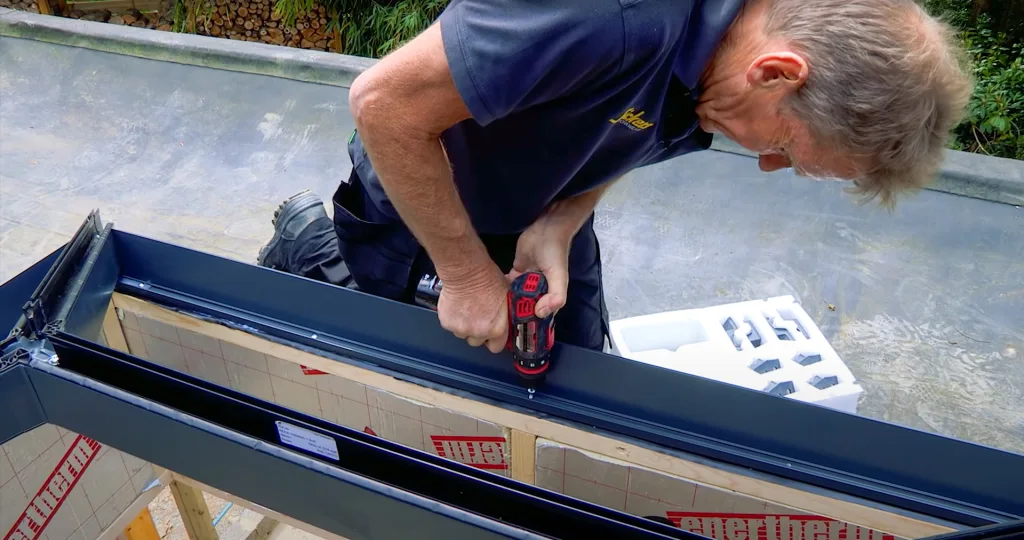
Roger works on the roof, fixing the Korniche Roof Lantern securely.
Glazing Made Easy
The Korniche system stands out for its approach to glazing. “The difference with this system is because it’s precision engineered… they don’t have to allow for tolerances on the glass with packers and silicone,” explains Roger. This eliminates the need for silicone application when glazing, making the glazing process efficient and straightforward.
Remember: Ensure the glazing label faces the inside during installation.
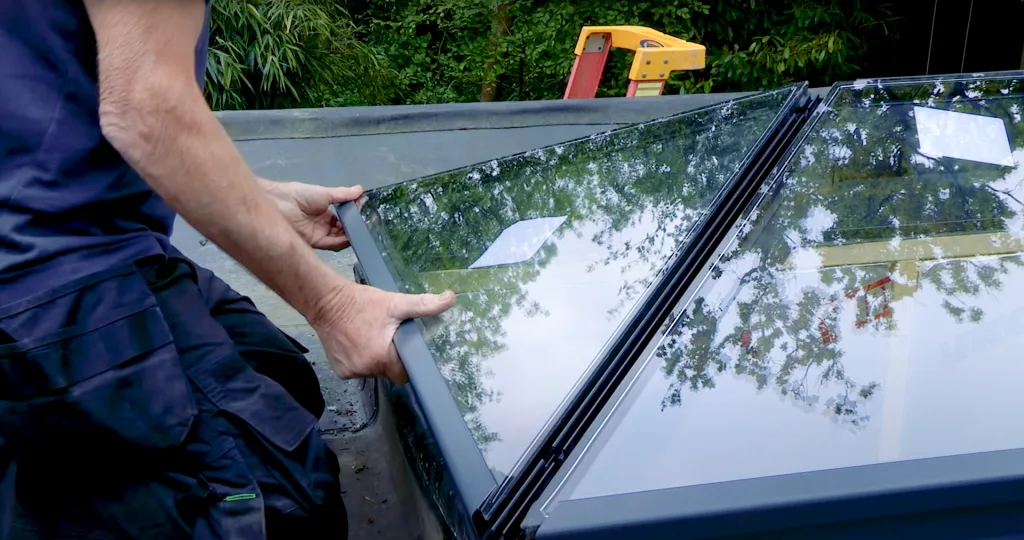
Roger glazing the Korniche Roof Lantern
Attaching The Caps
The final step in the Korniche Roof Lantern installation involves attaching the caps.
Material Matters: As Roger points out in the video, “they’ve anodised these little pins here and this is diecast aluminium.” The high-quality materials used throughout, like the anodized aluminium in the caps, contribute to the product’s “durability and thermal efficiency,” as Roger acknowledges.
Roger’s observation: While the caps click into place, he emphasizes the importance of “double-checking that they’re all secure before you leave the job.” A quick visual inspection can provide peace of mind and ensure a professional finish.
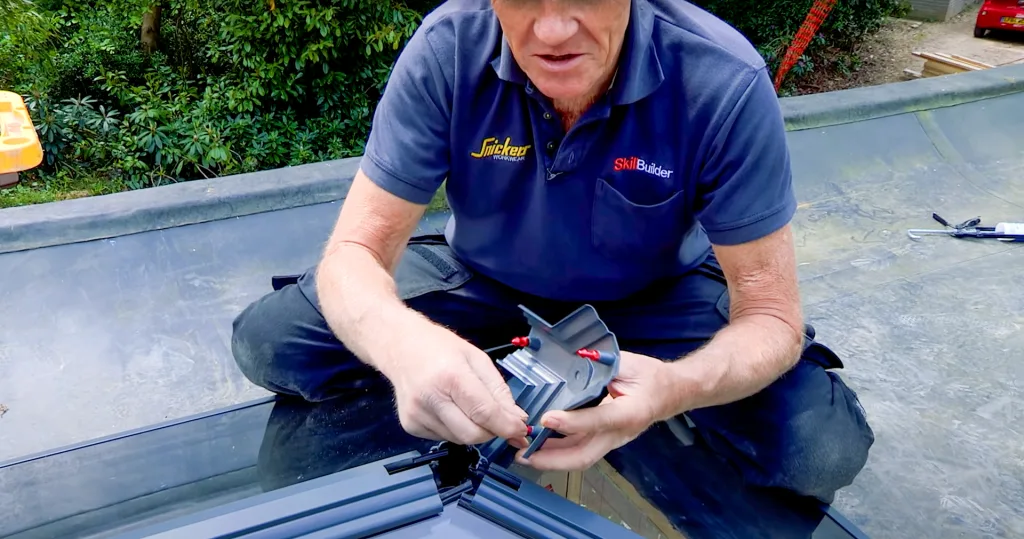
Korniche Roof Lantern Clips: Anodised pins & diecast aluminium for a sturdy and stylish design.
Job Complete
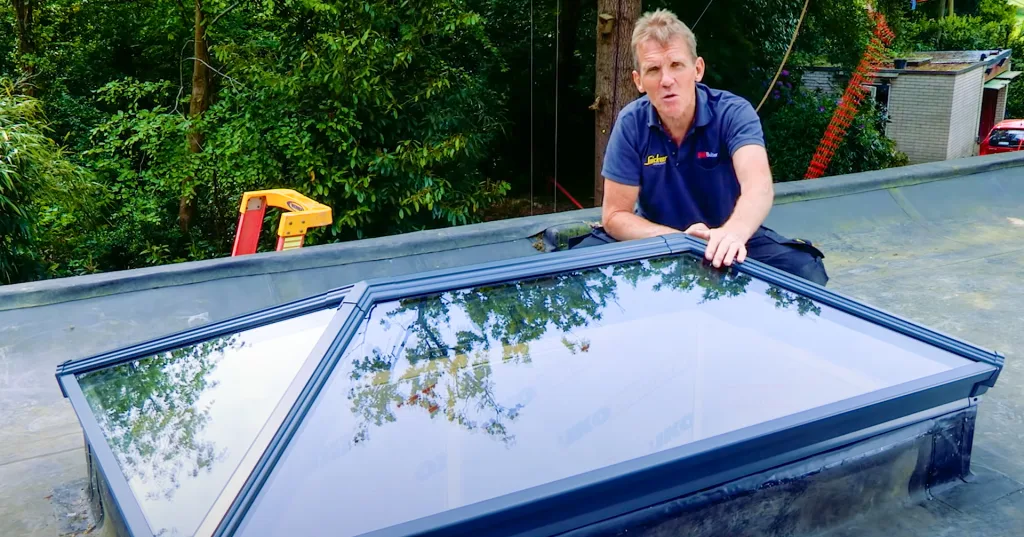
Roger Bisby sitting on a roof beside his newly built Korniche Roof Lantern.
“That’s it. That’s the job complete. And when they said it was easy, they weren’t exaggerating,” concludes Roger. The Korniche Roof Lantern’s design eliminates the complexities often associated with similar products, making it a strong choice for tradespeople seeking a user-friendly and efficient installation experience.
Ready to get started? Refer to the comprehensive installation guide provided by Made For Trade and don’t hesitate to reach out to their support team for any additional assistance.
Key Takeaways and Additional Tips
- Always refer to the instructions: While this guide provides a general overview, the manufacturer’s instructions should be your primary reference for detailed installation steps and safety precautions.
- Handle glass panels with care: Glass panels can be heavy and fragile. Use proper lifting techniques and wear safety gloves to avoid injury and breakage.
- Be mindful of strong winds: If installing the glass on a windy day, take extra precautions to ensure the panels are secure and avoid any potential hazards.
- Questions? Call our the support team: Don’t hesitate to reach out to the Made For Trade support team if you have any questions or require clarification during the installation process.
By following these steps and including Rogers insights and tips, you can ensure a successful and efficient installation, adding a beautiful and functional skylight to your building.
